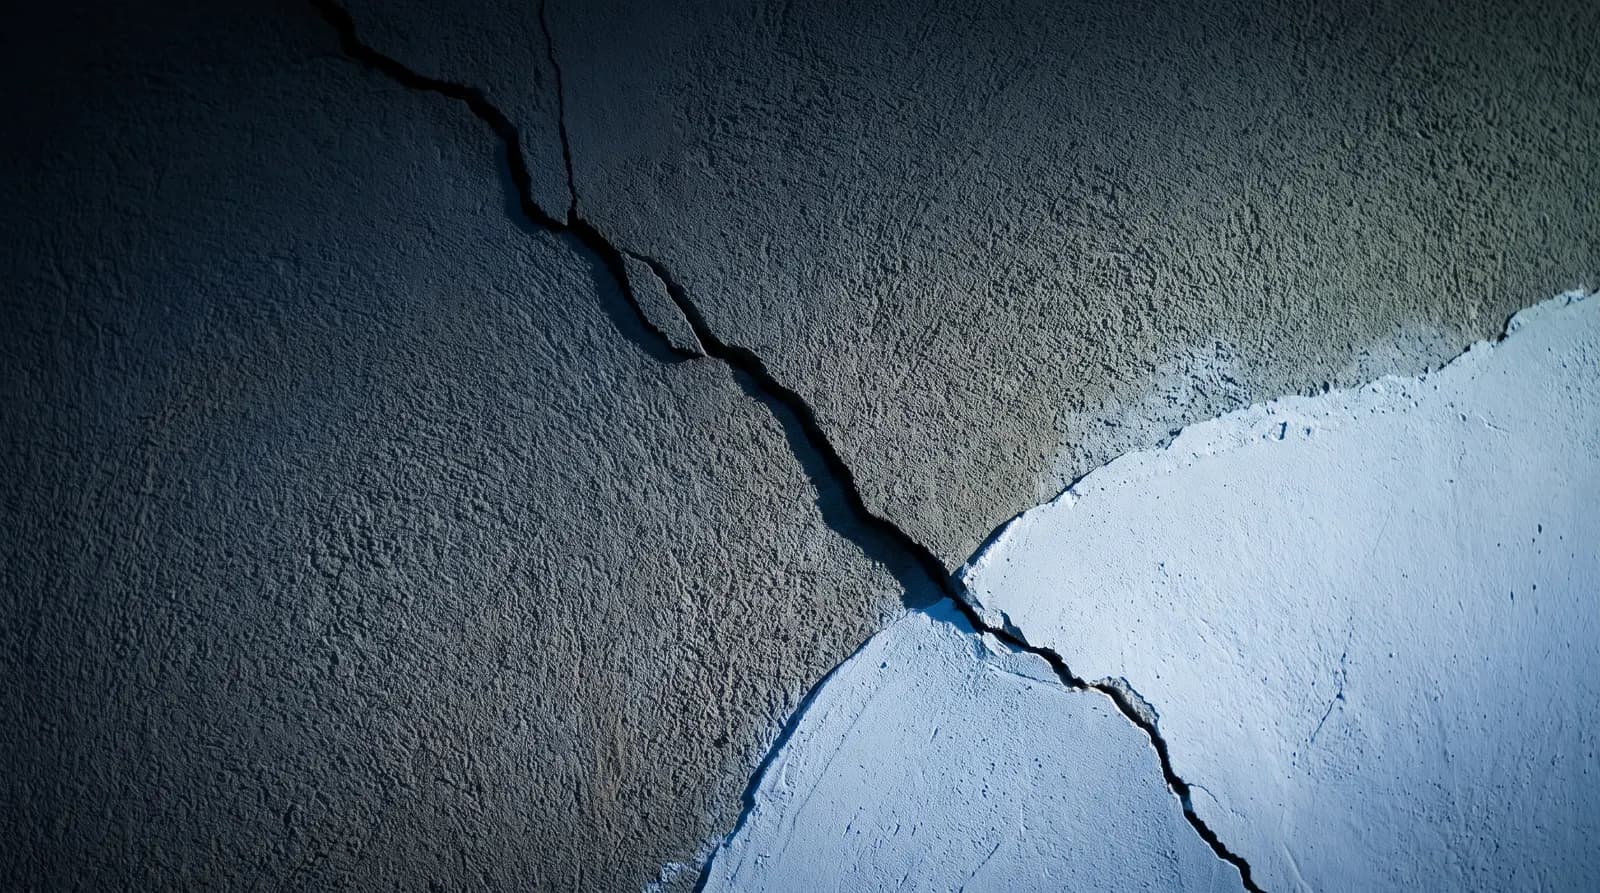
Render Cracking: Common Causes and Professional Solutions
Why rendered walls crack — from mix errors and missing mesh to substrate movement — how to read the crack pattern, and how professionals repair and prevent it.
Few things unsettle a homeowner faster than spotting a crack running through a rendered wall. Some cracks are purely cosmetic and can be repaired in an afternoon; others are the first visible sign that something beneath the surface — the mix, the mesh, or the wall itself — has gone wrong. This guide explains how to tell the difference, what actually causes render to crack, and how professionals put it right.
Not All Cracks Are the Same
The pattern a crack makes is often the best clue to its cause, so before worrying about repairs it helps to identify what you are looking at.
Hairline cracks are very fine lines, often only visible up close or when the wall is wet. They usually sit in the top surface of the render rather than running through the full depth, and they are the most common and least serious type.
Map cracking (sometimes called crazing) is a network of fine cracks spreading across a wall in an irregular grid, a little like a dried-out riverbed. It typically points to a problem with how the render was mixed or how it dried, rather than anything wrong with the wall behind it.
Movement cracks tend to be straighter and more directional. They often radiate diagonally from the corners of windows and doors, or follow lines where the background changes — for example where an extension meets the original house. These form because different parts of the wall are moving by different amounts and the render has no way to absorb that stress.
Structural cracks are the ones to take seriously: wider, often stepped or continuous through both render and the wall beneath, and sometimes growing over time. These reflect movement in the building itself rather than a fault in the render, and they need investigating before any cosmetic repair.
Why Traditional Sand and Cement Render Is Prone to Cracking
Traditional sand and cement render is strong but rigid, and that rigidity is its weakness. As the cement cures it shrinks, and because the material has very little flexibility, that shrinkage frequently relieves itself as cracking.
Site-mixed render adds another layer of risk. Every batch depends on someone getting the proportions right by hand: too much cement produces a strong but brittle coat that shrinks aggressively; too little and the render is weak and friable. Inconsistent water content, poorly graded sand or batches mixed differently across a single wall all show up later as uneven curing and, eventually, cracks.
Rigid render also transmits stress rather than absorbing it. Every time the wall expands in summer heat, contracts on a cold night or shifts fractionally on its foundations, a hard cement shell has nowhere to put that energy except into a fracture.
Installation Errors That Cause Cracking
Even good materials crack when the installation cuts corners. In modern thin-coat render systems, the basecoat layer contains an embedded fibreglass reinforcement mesh whose whole job is to distribute stress and stop cracks forming. If that mesh is left out, positioned too close to the surface or the back of the coat, or laid without proper overlaps between adjacent lengths, the system loses its crack resistance exactly where it needs it most. Industry guidance from system designers such as EWI Pro repeatedly identifies missing or poorly embedded reinforcement, along with inconsistent basecoat thickness, as leading causes of render failure.
Stress concentrates at openings, so the corners of windows and doors should receive additional diagonal strips of mesh. Skipping these details is one of the most common reasons cracks appear precisely where they are most visible.
Mixing and matching products is another quiet culprit. Render systems are designed as a whole — adhesive, insulation board, basecoat, mesh, primer and topcoat are tested to work together, with matched flexibility and breathability. Substituting a cheaper basecoat or an unapproved mesh into a system can leave layers that cure, flex and breathe at different rates, and cracking or debonding often follows. On insulated walls, poorly aligned boards, gaps between boards or an unlevelled surface can also telegraph through the render as cracks or a visible grid pattern along the board joints.
Weather, Curing and Thermal Shock
Render is at its most vulnerable in the hours and days after application. Applied in hot, dry or windy conditions, it can lose its moisture too quickly and shrink-crack before it has developed strength. Applied in cold or damp conditions, curing slows dramatically, and frost can permanently damage an uncured coat. Most thin-coat renders specify an application window of roughly 5 to 25 degrees Celsius [VERIFY: exact application temperature range per the relevant EWI Pro product data sheet], and rushing successive coats before the previous layer has properly dried interrupts curing and builds weakness into the wall.
Thermal shock affects render throughout its life, not just during installation. A dark-coloured wall in direct sun can swing through a large temperature range in a single day, and repeated rapid expansion and contraction cycles will eventually fatigue a rigid render. This is one reason system designers restrict very dark topcoat colours on insulated facades.
Substrate Movement and Missing Movement Joints
All buildings move. Materials expand and contract with temperature and moisture, foundations settle, and long elevations flex. Well-designed render accommodates this with movement joints — deliberate breaks, fitted with flexible profiles, at points where stress will concentrate, such as long uninterrupted walls, junctions between different structural materials and lines where an extension meets older masonry. Where these joints are omitted, the render is forced to bridge across two sections of building moving independently, and it will crack along that line sooner or later.
If a crack is wide, stepped through brickwork as well as render, or visibly growing, treat it as a potential structural issue and have the building assessed before anyone patches the surface. Rendering over an active structural crack hides the evidence without fixing anything.
Why Small Cracks Become Big Problems
A crack in render is an open door for water. Rain drawn into a hairline crack tracks behind the render, and once moisture sits where it should not, problems multiply: frost turns trapped water into an expanding wedge that widens the crack each winter, damp patches can appear internally, and on an insulated wall wet insulation loses part of its thermal performance. Cracks also let water get behind the render surface and break the bond with the wall, which is how a small cosmetic defect grows into blown, hollow-sounding render needing far more extensive repair. Early attention is almost always cheaper than late attention.
How Professionals Repair Cracked Render
For genuine surface cracks in a thin-coat silicone system, the established repair method is a neat, localised patch. The damaged spot is assessed first, because a crack can run deeper than it looks — if the basecoat and mesh beneath are compromised, a patch will not hold and a larger system repair is needed. For surface-only damage, the installer marks and tapes off a square area around the crack, carefully removes the topcoat within it back to sound basecoat without damaging the mesh, then primes the exposed area with a topcoat primer to control suction and improve adhesion. Fresh render in the same type, colour and grain size is applied and floated to match the surrounding texture, and the edges are feathered and blended so the patch disappears into the facade.
Where cracking is widespread — map cracking across whole elevations, or failures traced to missing mesh or a bad mix — patching is a false economy. The professional solution is usually to stabilise the surface and apply a new reinforced basecoat with mesh over the affected area, restoring the crack-resistant layer the wall should have had, before refinishing with a flexible topcoat.
Designed Not to Crack: Modern Silicone Render Systems
The most effective solution to render cracking is choosing a system engineered to prevent it. Thin-coat silicone render systems, such as the EWI Pro systems APEX installs, take a fundamentally different approach from sand and cement: a fibreglass-mesh-reinforced polymer basecoat spreads stress across the whole elevation, and the silicone topcoat stays flexible for its working life, moving with the building instead of fighting it. Combined with correct detailing at openings, matched system components and disciplined application in the right conditions, that flexibility is precisely why these systems resist the cracking that traditional rigid renders suffer.
If your render is already cracked, the priority is an honest diagnosis: cosmetic, installation-related or structural. APEX offers a free survey and quote, so if you would like a professional assessment of cracked render — and a clear recommendation on whether it needs a small repair or a properly reinforced new system — get in touch and we will take a look.
// RELATED
More Articles
Condensation and Interstitial Moisture in EWI Systems
Condensation is the most misunderstood damp problem in UK homes. Learn how dew point physics, breathable EWI systems and proper ventilation keep insulated walls dry inside and out.
Understanding Thermal Bridging: The Hidden Enemy of EWI Performance
Thermal bridges let heat escape through gaps and junctions in an EWI system. Learn how they form, how psi values measure them, and how proper detailing designs them out.
Is My Wall Suitable for External Wall Insulation? A Substrate Guide
A house-type-by-house-type guide to EWI substrate suitability — solid brick, stone, cavity walls, system-built homes and rendered walls — plus the condition checks and honest fixes needed first.
// EXPERT GUIDANCE
Need Professional Advice?
Our technical team is here to help with your EWI or rendering project. Get professional guidance tailored to your specific requirements.